Many times, clients approached our team at Innova Designz because visitors were skipping their long product pages. To fix these kinds of issues, we suggested and created a simple animation. That explained how the product worked. And the results of 2D animation on their website’s traffic are insane!
This makes us on thing understand clearly that in many businesses, making a 2D animation is as important as marketing. This is why we have provided the business with a one-door solution at Innova Designz. With today’s article, “How to make a 2D animation?”, we have provided businesses with a new marketing plan. That is simple and budget-friendly. So, let’s dig into it!
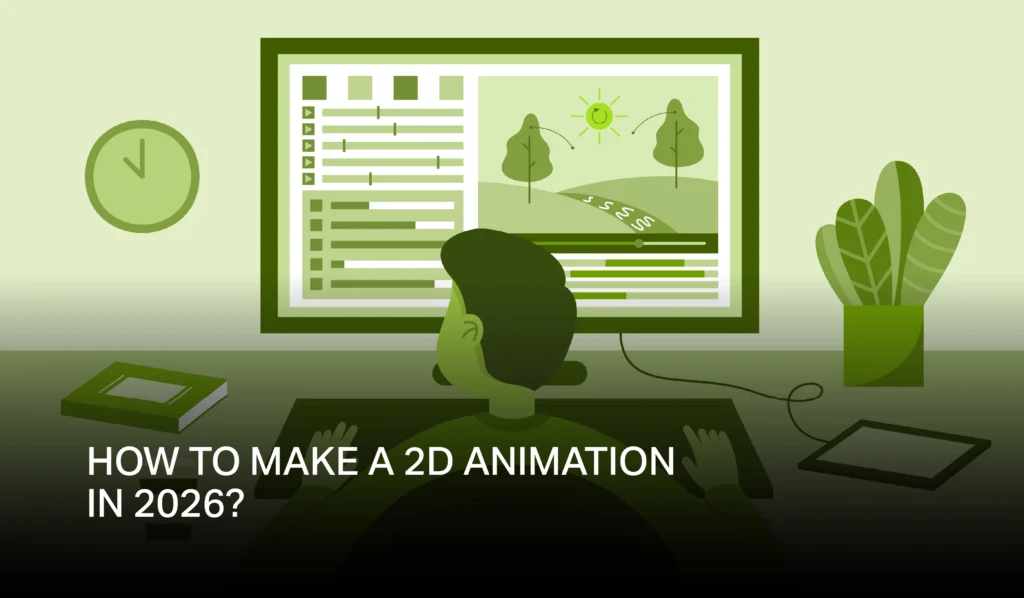
The Journey Of Making a 2D Animation
We have simplified the answer to what is 2d animation production process that helps you make a 2D animation. This process covers planning, drawing, animating, adding sound, and exporting. On each stage, we are making it easier to create 2d animation without confusing you. If you follow these steps, you will keep your work organized and help 2d animation for beginners how from starting with a single concept to the final animation.
Before Production: The Blueprint
1. Concept Development
Concept development is where your animation begins. Start by writing down simple ideas and then outline your ideas in short notes. Many artists begin with a basic idea, then brainstorm scenes that explain the message clearly. This helps shape your story before you start drawing anything.
During this stage, make light sketches called concept and sketch drafts. These sketches let you explore how characters look and how scenes connect. The goal is not perfection. It is clarity. With a solid concept, the rest of the 2d animation process becomes easier and faster.
2. Storyboarding
A storyboard is like a comic strip showing each scene. It includes movement notes and timing. Create a rough storyboard first, with quick drawings that show the flow. This lets you plan each shot before you begin detailed artwork. Beginners find storyboards helpful because they make the animation steps feel simple.
Adding notes about scenes ensures smooth transitions. You can even label where characters move or where the camera shifts. This visual plan removes confusion later. It’s like a 2d animation tutorial that helps teams collaborate because everyone can see the exact structure of the animation.
3. Character Design
Character design gives life to your story. Start simple. Draw shapes, poses, and expressions. Beginners often sketch several versions before choosing the final look. Your characters should match your message and be easy to animate. This is important for smooth motion.
After sketching, organize your designs into layers so you can digitize them later. A clean layout of your characters helps during animation. Clear shapes and simple lines make it easier to animate 2d characters without spending too much time on details.
4. Background Design
Backgrounds set the mood of your animation. Start by drawing simple settings with 2d animation techniques. These could be rooms, streets, or abstract shapes. Keep them clean and not too detailed so characters stand out. Basic backgrounds help viewers focus on the action.
Once your background sketches are ready, digitize them and prepare them in layers. This makes movement easier during animation. Backgrounds should match your style and color theme to keep your animation professional and consistent.
Production
1. Character Animation
Art of 2D Character Animation brings your drawings to life. This is where you move your character frame by frame. Beginners can use simple moves like walking, blinking, or waving. Software tools make this easy, even if you have never animated before.
Focus on timing and smooth motion. Start slow, test your animation, and adjust it as needed. This step takes patience, but it is where the magic truly happens. With practice, you will find it easier to make a 2D animation that looks clean and natural.
2. Inbetweening (or Tweening)
Inbetweening fills the gaps between main frames. These frames make the motion smoother. Modern tools can create automatic tweening, which saves time and effort. This helps beginners create clean animation without drawing every single movement.
You can adjust the speed of movement by changing how close frames are. Slow actions need more frames, while fast actions need fewer. This step is essential in creating a 2d animation that feels natural and well-paced.
3. Clean-Up
Clean-up removes rough lines and prepares your drawings for final use. This step ensures your animation looks polished. Beginners often skip clean-up, but it is vital if you want professional results.
Trace final lines, remove extra marks, and align shapes for smooth transitions. Clean artwork also makes coloring easier later. A crisp outline gives your animation a sharp and appealing style.
4. Special Effects
Special effects add energy to your animation. You can add sparks, smoke, light flashes, or small action lines. These effects highlight motion and make scenes more exciting.
Use simple effects at first. Too many can distract from the main message. When done right, effects support your story and make the animation visually stronger.
Post-Production
1. Compositing
Compositing brings all elements together. Place characters, backgrounds, effects, and text into one final timeline. This step helps you check how everything moves as a whole.
You can adjust layers, lighting, and timing. Compositing ensures your scenes blend smoothly. It also prepares your project for sound syncing and final editing.
2. Sound Design and Syncing
Sound adds emotion and clarity. Add music, voiceovers, and effects that match the action. Beginners should keep audio simple and clean.
Sync sound with movement to make scenes feel natural. A well-timed sound makes even basic animation more professional.
3. Colour Grading and Effects
Color grading sets the final look. Also, adjust your color balance to create the effects you want. A warm or soft-colored palette creates a calming effect, and bright colors create excitement.
Use grading to match scenes together. This makes your video smooth from start to finish. It also enhances your story without changing the drawings.
4. Rendering and Compression
Rendering creates your final video. Choose a good format like MP4, so your animation works online. Compression keeps your file small without losing quality.
Test your video on different devices. Make sure it loads fast and runs smoothly. After rendering, your animation is ready to share, publish, or upload to your website.
Frequently Asked Questions (FAQ)
How to do 2D animation?
Follow the three stages: Pre-Production, Production, and Post-Production. Start small and keep practicing.
How to animate with drawings?
Sketch characters, digitize them, then animate frame by frame using your preferred software.
Which software is best for 2D animation?
Beginners can start with tools that support easy drawing, layering, and tweening.
Can ChatGPT make a 2D animation?
ChatGPT can help you plan, write scripts, and guide you, but it cannot animate on its own.
How long does a 30-second 2D animation take?
Simple animations take 1–3 days. Detailed ones may take a week or more.
Ready to Make a 2D Animation For Your Brand?
To create an appealing animation for your website, contact the team at Innova Designz, and we will be happy to provide you with a professional, polished, and dynamic product. We specialize in helping US businesses make a 2D animation that tells your story simply and effectively.
Check out our 2d animation services for additional information, or reach out to us today. We produce animations that enhance the user experience while allowing your brand to be recognized among others. We can help you manifest your concept using clean and professional 2D animation that integrates seamlessly into your project.